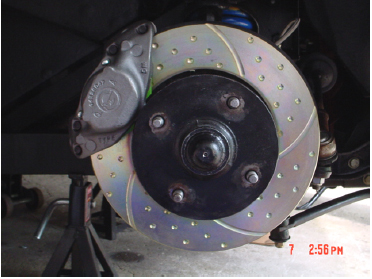
The following steps detail the conversion to vented rotors for a 1972 TR6 front brakes. I originally explored the Toyota four-pot conversions but decided that I wanted heavy-duty rotors with additional mass to dissipate heat in order to obtain better braking performance. With all the controversy, regarding cross-drilled rotors I was pleased that the conversion kit I obtained did not have the cross-drilled rotors. This kit contained two-vented rotors, and a kit to widen the Triumph calipers to accept the additional width of the rotors.
After removing the road wheels and the wire wheel adapters, loosen the four bolts that hold the caliper halves together before removing the caliper from the front suspension.
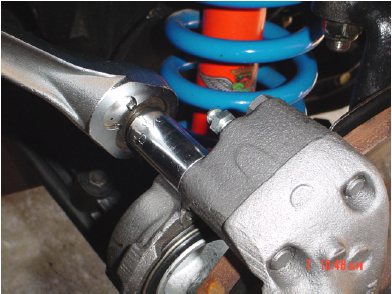
In this photo above, the original brake pads have been removed and you get a good shot of the original caliper and rotor proportions.
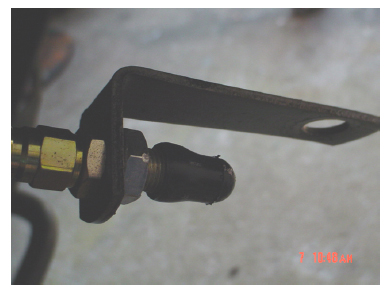
With the four caliper bolts loosened, remove the hard brake line. I used a vacuum line cap to cover up the end of the brake line to prevent contamination and loss of the brake fluid.
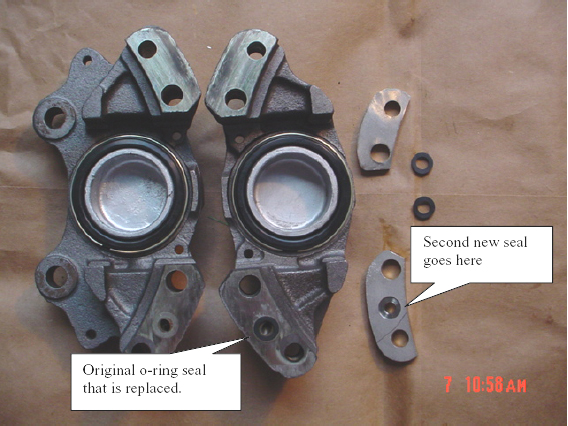
Remove the caliper from the car and split. The new kit contains the proper seals and two spacers. New components from the retrofit kit are shown on the right.
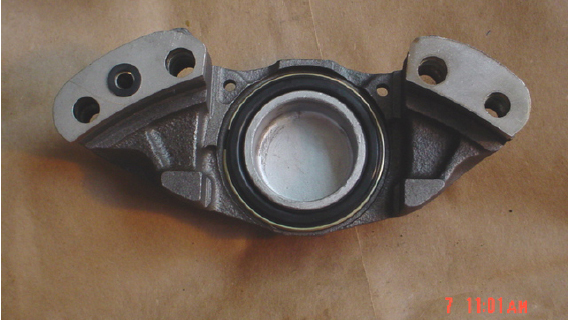
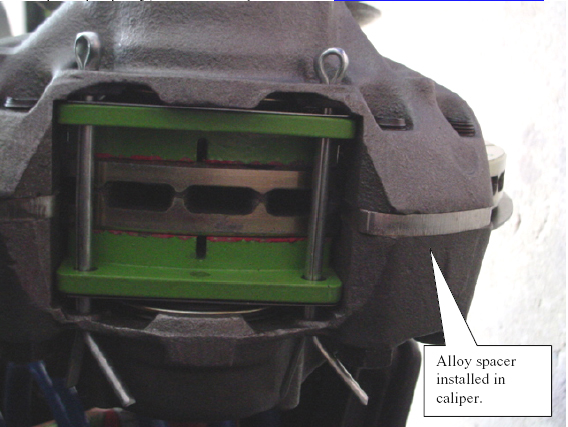
The alloy spacers and new seals in place on the caliper half before bolting together.
Carefully fit the other half of the caliper to this assembly and insert the new longer bolts. Ensure that the seals (two are required for each caliper), are installed properly.
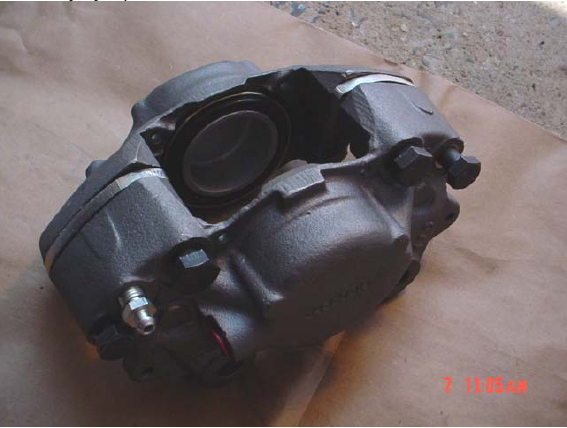
Assembled caliper before final tightening.
Fit the rotor properly using new bolts and lock washers.
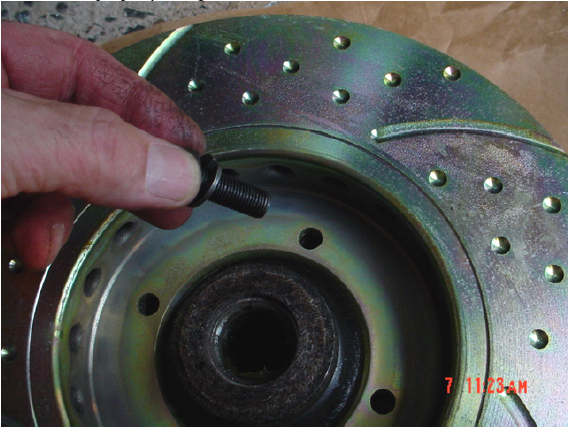
Repack the front bearing, pack a little grease inside, slide the rotor assembly back over the axle, tighten the securing nut and washer, install a new split pin and this side is almost complete. Finish reattaching the caliper and the brake line.
Nice clean complete job, brakes bleed. Ready for the wheels to be installed back on the car and the car road tested.
